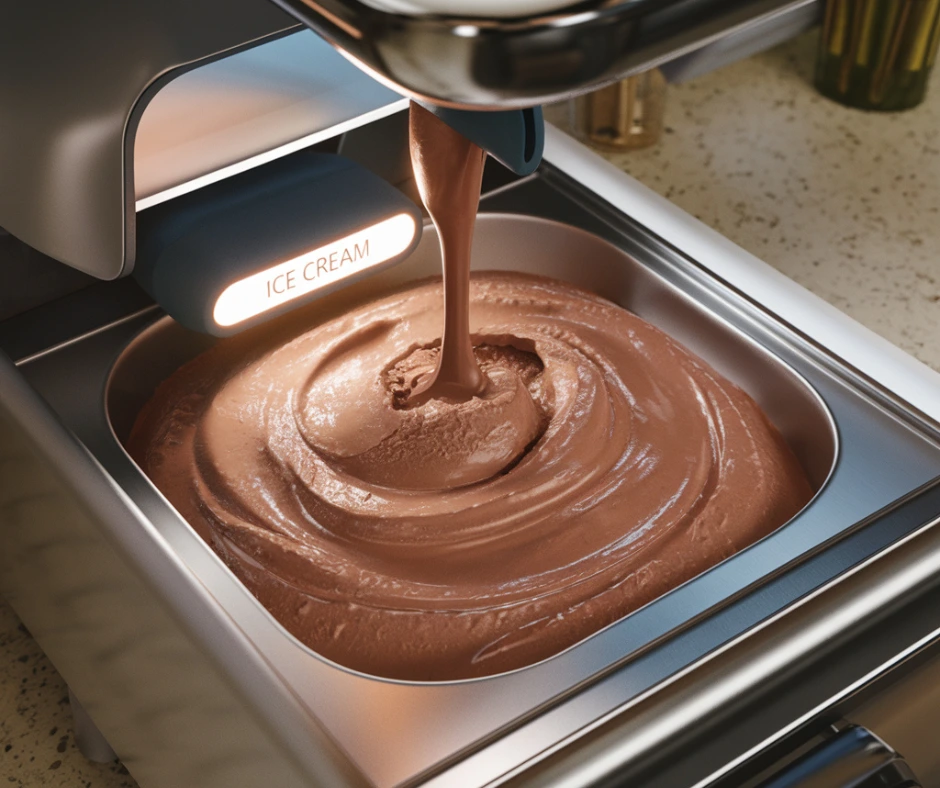
What is Ninja Creami recipes?
Ninja Creami recipes are revolutionizing the world of homemade ice cream, giving dessert lovers a way to create smooth, customizable ice creams, sorbets, gelatos, and more from the comfort of home. Imagine creating a rich, creamy, chocolate malt ice cream in minutes without complicated steps or large machines. It’s all possible with the Ninja Creami, an appliance that’s redefining frozen dessert possibilities.
In this guide, we’ll dive into an easy chocolate malt ice cream recipe designed specifically for the Ninja Creami. With its simplicity, deep chocolate flavor, and creamy texture, it’s a perfect treat for any chocolate lover looking for a delicious homemade dessert. This article covers every detail you need to know, from ingredients and substitutions to tips for getting the perfect consistency every time. Let’s dive into the recipe and all you need to know to make the most of your Ninja Creami recipes.
Table of Contents
Why You’ll Love This Recipe
- Quick and Easy: It only takes a few minutes to mix ingredients, with the Ninja Creami doing the rest.
- Decadent Chocolate Flavor: The malted milk powder adds a nostalgic twist, elevating this dessert to a true indulgence.
- Perfectly Creamy Texture: The Ninja Creami guarantees a smooth, professional ice cream texture every time.
- Customizable: Adjust the sweetness or add mix-ins like chocolate chips or crushed cookies for variety.
- Budget-Friendly: No need to buy expensive ice creams when you can make your own gourmet flavors at home.
Key Ingredients and Substitutions
To make this chocolate malt ice cream in the Ninja Creami, a few specific ingredients give it its irresistible flavor and creamy texture. Here’s a closer look at each:
- Whole Milk and Heavy Cream: These are essential for achieving the perfect creaminess. For a lighter version, you can substitute with 2% milk, but avoid low-fat or skim options.
- Chocolate Syrup: Adds richness and chocolate flavor. If you prefer, swap with dark chocolate syrup for an intense chocolate experience.
- Malted Milk Powder: The star ingredient here, malted milk powder brings a sweet, toasted flavor to the ice cream. This can be found in most grocery stores, but if unavailable, you can use cocoa powder as a backup (though it will alter the flavor).
- Granulated Sugar: Adds sweetness. You can substitute with a sugar alternative like erythritol or monk fruit sweetener if desired.
- Vanilla Extract: Enhances the chocolate flavor. Vanilla bean paste is another option for a richer vanilla hint.
- Salt: Just a pinch! It enhances and intensifies the sweetness and chocolate flavor.
How to Make Chocolate Malt Ice Cream in the Ninja Creami (Step-by-Step)
- Mix the Base Ingredients: Start by combining milk, cream, chocolate syrup, malted milk powder, sugar, vanilla, and salt in a mixing bowl. Use a whisk to fully dissolve the sugar and ensure everything is well-blended.

- Freeze for 24 Hours: Pour the mixture into your Ninja Creami-compatible pint container. The 24-hour freeze is essential for the Ninja Creami to work its magic, so plan accordingly.

- Process in the Ninja Creami: Once the mixture is completely frozen, transfer the container into the Ninja Creami. Use the “Ice Cream” setting. This process will break down the ice crystals, creating a perfectly smooth ice cream. If the ice cream isn’t creamy enough after the first spin, add a splash of milk and select the “Respin” setting. This extra step gives an ultra-smooth result.

- Serve and Enjoy: Scoop out your rich, creamy chocolate malt ice cream, serve, and enjoy. You can add chocolate chips, sprinkles, or your favorite toppings to make it even more exciting!

Expert Tips for Success
- Freeze for Full 24 Hours: The Ninja Creami requires a rock-solid base to create the right consistency. Skimping on freeze time may result in icy texture.
- Respin for Extra Creaminess: If your ice cream is still slightly chunky after the first spin, don’t hesitate to respin with a splash of milk. The result will be silky smooth.
- Don’t Overfill: Ensure your mixture is within the fill line on the Ninja Creami container to avoid overflow during processing.
- Mix Well: When combining ingredients, make sure the sugar is completely dissolved for a smooth texture. A whisk or a hand mixer can be handy here.
- Customize: Use the Ninja Creami’s mix-in feature to add chocolate chips, cookie crumbles, or swirls after processing.
Variations and Customizations
Experimenting with different flavors and mix-ins is one of the joys of using the Ninja Creami. Here are several ways to personalize this recipe:
- Classic Chocolate Ice Cream: Omit the malted milk powder for a straightforward chocolate treat.
- Mint Chocolate Malt: Add a few drops of mint extract for a refreshing twist, or sprinkle crushed mint candies on top.
- Peanut Butter Chocolate: Add a spoonful of peanut butter to the base mixture or blend it in as a mix-in for a nutty richness.
- Dairy-Free Version: Substitute coconut milk and coconut cream for a dairy-free, creamy alternative.
- Lower-Calorie Option: Swap out the sugar for a low-calorie sweetener and reduce the heavy cream slightly.
Storage and Reheating Instructions
For the best flavor and texture, store any leftover chocolate malt ice cream in the Ninja Creami pint container and keep it tightly sealed in the freezer.
- Storage: Store in the freezer for up to 1 week, though it’s best enjoyed within a few days to avoid freezer burn.
- Reheating: If your ice cream becomes too hard, simply place it back in the Ninja Creami and select the “Re-Spin” option to soften and re-smooth the ice cream.
Ninja Creami Recipes in 5 Steps: Rich, Easy Chocolate Malt Ice Cream Recipe
Course: DessertCuisine: AmericanDifficulty: Easy4
servings5
minutes300
kcalA rich, indulgent chocolate malt ice cream, easy to make in the Ninja Creami. Creamy and flavorful, it’s the perfect quick treat!
Ingredients
1 cup whole milk
1 cup heavy cream
½ cup chocolate syrup
2 tbsp malted milk powder
⅓ cup granulated sugar
½ tsp vanilla extract
Pinch of salt
Directions
- Combine Ingredients: In a large bowl, mix the milk, heavy cream, chocolate syrup, malted milk powder, sugar, vanilla extract, and salt. Whisk until well combined.
- Freeze the Mixture: Pour the mixture into a Ninja Creami-compatible pint container. Place the container in the freezer and let it freeze for at least 24 hours.
- Process in Ninja Creami: Remove the container from the freezer, place it in the Ninja Creami, and select the “Ice Cream” setting. Let the Ninja Creami process the ice cream until smooth.
- Enjoy: Scoop out and serve immediately. For an even creamier texture, add a splash of milk and respin as needed.
Notes
- Adjust the sugar level to taste or try using a sugar substitute if desired.
Serving Suggestions
Chocolate malt ice cream is a treat on its own, but here are a few ideas for delicious pairings:
- Classic Cone: Serve in a waffle cone for that nostalgic feel.
- Hot Fudge Sundae: Top with whipped cream, hot fudge, and a cherry for a decadent sundae.
- Brownie Sundae: Serve with a warm brownie or cookie for a warm-and-cold contrast.
- Affogato Twist: Drizzle a shot of hot espresso over the ice cream for a delicious Italian-inspired dessert.
Frequently Asked Questions (FAQs)
Can I make this recipe without malted milk powder?
Yes, you can omit the malted milk powder. The ice cream will still have a rich chocolate flavor, but you’ll miss the unique malted twist.
What should I do if my ice cream ends up too icy?
Using a high-fat base like whole milk and heavy cream reduces iciness. If it’s too icy, add a splash of milk and blend again.
How do I add mix-ins?
Once your ice cream is processed, create a well in the center, add your mix-ins, and select the “Mix-In” setting on the Ninja
Conclusion
The Ninja Creami has truly transformed the way we enjoy homemade ice cream, making it easy, quick, and customizable for any flavor preference. This easy chocolate malt ice cream recipe brings together creamy texture, deep chocolate flavor, and a nostalgic malted twist that’s sure to satisfy every dessert lover. With just a few simple ingredients and a bit of planning, you’ll have a rich, indulgent treat that rivals anything store-bought—without needing to leave your home.
Whether you’re experimenting with new flavor combinations, adding your favorite mix-ins, or adapting the recipe to be more diet-friendly, the possibilities are endless. So, give this chocolate malt ice cream a try and enjoy the delicious, homemade taste that only a Ninja Creami recipe can deliver.
For more ideas, refer to this recipe.


2 thoughts on “Ninja Creami Recipes in 4 Steps: Rich, Easy Chocolate Malt Ice Cream Recipe”